Video Tutorials
Essentials Part 1: Introduction and Overview
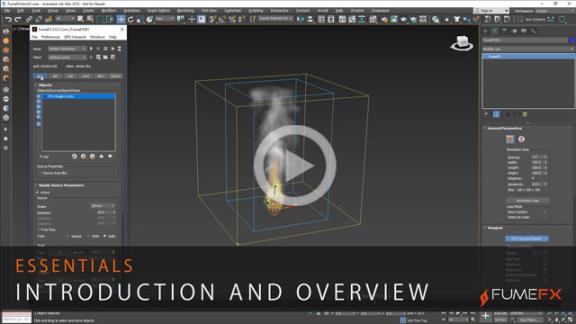
In this video tutorial we will go through the very FumeFX basics and cover topics such as:
- Voxels and Grid Spacing
- FumeFX Main UI
- Your first simulation
- Viewport display
- Adaptive grid and Boundless
- Working with caches
- Playback and Out-of-Range Types
Essentials Part 2: Simulation Basics
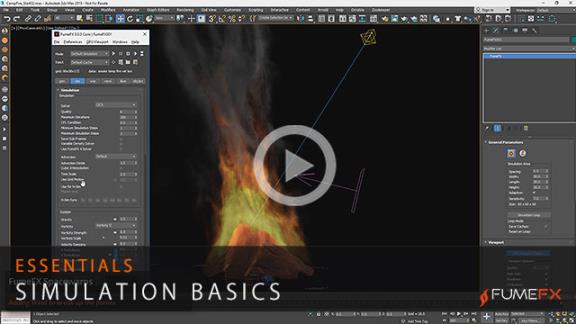
In this camp fire tutorial for 3ds max you will learn the FumeFX simulation basics. We will cover topics such as:
- FumeFX Geometry Source
- Using boundless simulation
- Shader adjustments for fire and smoke rendering
- Time scale
- Wind force
- Wavelet Turbulence to add more detail to your fluid simulations
NodeWorks User Interface Basics
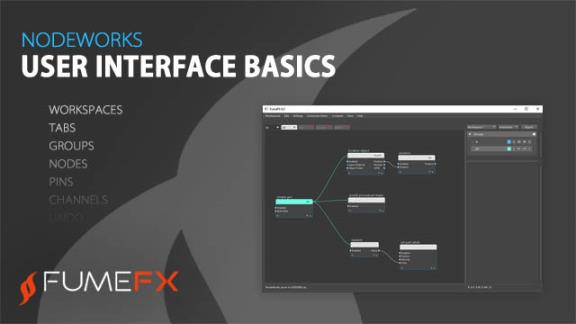
This video tutorial guides you through the NodeWorks user interface basics. It explains workspaces, nodes and pins, how to create and insert nodes, create custom channels, node execution order and more. It`s a must to watch tutorial before diving into the FumeFX 6.0 NodeWorks endless possibilities.
Topics:
- Workspaces
- Tabs
- Particle groups
- Nodes
- Pins
- Custom particle channels
Object Test Node
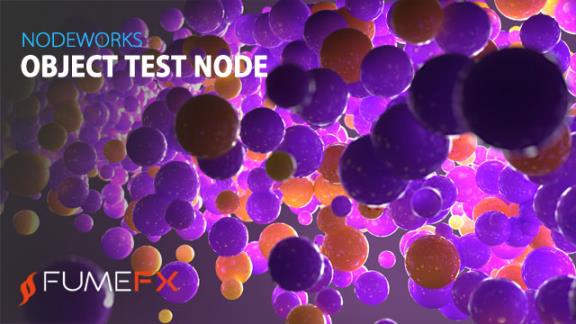
Object Test node is one of the most important nodes within the NodeWorks. It can perform various tests based on the input position and an object or particle shape and provide us with valuable information. In the case that particle pin is connected this node will use particle position to perform tests.
Thanks to this node we can find the closest position on the surface, pass material color to particles and FumeFX smoke, detect obstacles, check if particle is inside object and so much more.
In this video tutorial we will show you three easy to comprehend examples that will explain how this node works and give you an idea how it can be used in your scenes.
Shape Params Node

In this tutorial we are going to cover Shape Params node basics but also we will try to explain its real world usage on an asteroid field scene where user can control Noise modifier to create unique shapes and control Sphere segments parameter to create shapes with procedural level of detail.
NodeWorks Introduction
NodeWorks is the heart of FumeFX multiphysics simulation engine that provides over 140 nodes for creating cloth, soft body dynamics, rigid body dynamics, geometry fracturing, collective animal behavior, character animation, FumeFX simulation interaction and many more. All this functionality is now available directly inside 3ds max within single software tool.
Using VRay Volume Grid with FumeFX
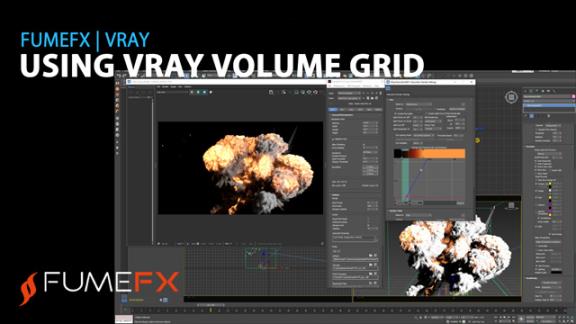
FumeFX 6 features a convenient Arnold and VRay Volume Grid shader for simplified volume grid rendering. This setup enables the rendering of FumeFX .vdb caches using Arnold GPU or VRay GPU. The shader automatically configures the Volume Grid path, channel assignment, and synchronizes the Volume Grid cache path with any changes made to the FumeFX cache path. This tutorial will show you how you can render FumeFX simulation effortesly with V-Ray.
Editing Cached Voxels
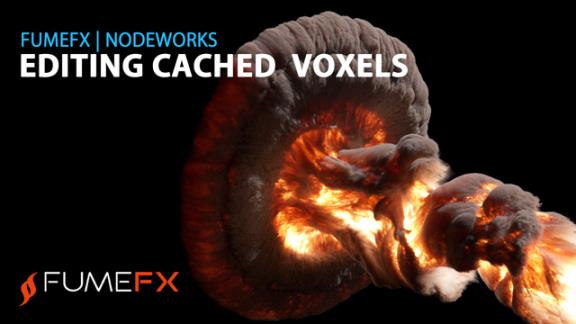
In this tutorial for FumeFX 6, we will demonstrate the process of modifying existing caches by adding color and temperature channels and transforming voxel velocity into temperature data. This temperature data can then be utilized for black-body emission shading. The FumeFX 6 nodes offer artists extensive control over voxel manipulation, both during FumeFX simulations and when working with pre-existing caches.
Drone Aiming and Firing
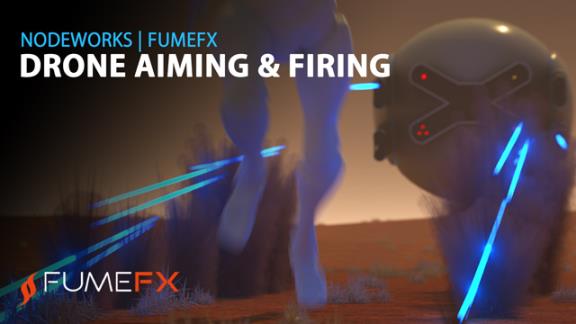
This FumeFX 6 for 3ds max tutorial covers many topics ranging from plants scattering, character animation, procedural firing system, generating FumeFX dust on laser hit, Arnold rendering and much more..
Topics:
- Particles
- Plants scattering over surface
- Explosion Gen
- FumeFX simulation
- Importing and playing character animation
- Arnold rendering
Cinematic Explosion

In this tutorial we show you how to use NodeWorks Explosion Gen particle source node to quickly create procedural explosions with FumeFX in 3ds max. We will also explain how to use new Explosion Preprocess option to create cinematic explosion shading. Artists can now create amazing visual effects directly inside the FumeFX more efficiently than ever before.
Topics:
- Particles
- Explosion Gen
- FumeFX simulation
- Explosion Preprocess
- Arnold rendering
Swirling Particles with Custom Voxel Field

In this FumeFX 6 tutorial we are going to create a custom voxel field that will be used to generate splines and particles and to advect particles along the custom velocity field. We will also show you how to use Arnold renderer to render particles as points and how to control shader color directly from the NodeWorks.
How to Simulate Flamethrower
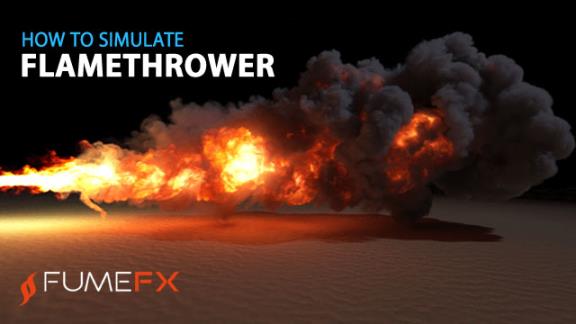
This FumeFX 6 for 3ds max tutorial guides you through the process of creating a flamethrower simulation by using the NodeWorks particles and FumeFX sources. We will also show you how to setup the FumeFX simulation parameters in order to achieve napalm burn with nice rolling motion and expanding billowing smoke. At the end of the tutorial we will explain the effect of Arnold renderer`s Volumetric Ray Depth parameter on the final image and render time.
Topics:
- Particles
- PhysX
- FumeFX simulation
- Arnold rendering volume ray depth
Scene is available for download at: https://bit.ly/3FyznxH
Standard, Tempered and Bulletproof Glass Fracture

Glass fragmentation is required in many VFX shots and this tutorial will guide you through the process of creating such effect within 3ds max and FumeFX 6. In this tutorial we have covered three distinctive glass types - standard, tempered and bulletproof. You will learn how to generate voronoi fragments based on the impact location and how to apply fragmentation based on the surface area and impact force. For tempered glass we will create individual fragments as well as clustered fragments. Bulletproof glass will use Voronoi Shatter node to generate concentric fragment pattern around the impact area. At the end we will cover NodeWorks usage of Arnold User Data to control the fragment transparency based on the distance from the impact location.
Topics:
- Creating Voronoi fragments and particle clusters.
- Impact fragmentation based on fragment surface area and impact force.
- PhysX rigid body dynamics and how to solve interpenetrating shapes.
- Glass transparency based on distance from the impact location using NodeWorks custom channels and Arnold renderer User Data.
Scene download: https://bit.ly/3WQZpBf
How To Create Web Tear
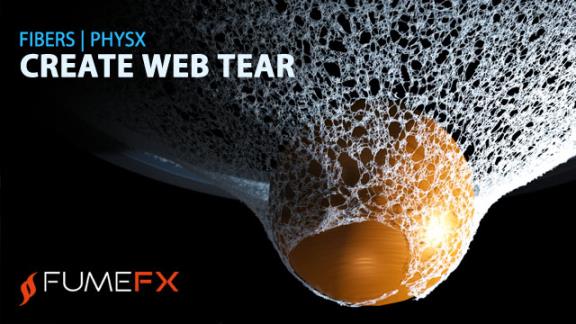
This FumeFX 6 for 3ds max tutorial shows you how to use NodeWorks particles and fibers to procedurally generate elastic web that is fixed to the ring geometry. We will use fibers tear threshold to allow this structure to tear under external forces. With so many small and thin fibers caching and rendering becomes a challenge as we would end up with millions of polygons for each frame. NodeWorks supports Arnold curves which allow us to cache and render spline curves without the need for geometry.
Topics:
- Creating web
- Web tear
- PhysX
- Rendering splines as Arnold curves
Scene download: https://bit.ly/43aFSiu
Swirling Particles
In this FumeFX 6 tutorial we are going to create a custom voxel field that will be used to generate splines and particles and to advect particles along the custom velocity field. We will also show you how to use Arnold renderer to render particles as points and how to control shader color directly from the NodeWorks.
Topics:
- Voxel Grid ??? initialize, read and write voxels
- Voxel to spline node
- Spline Gen node
- Particle Advect node
Collective Behavior
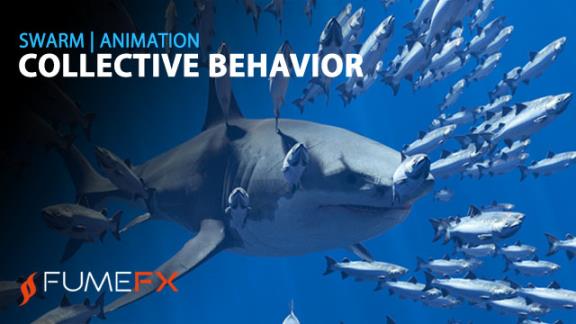
In this tutorial you will learn how to use the FumeFX 6 Swarm node to create fish school that circles around an attraction point. We will add shark and use the Neighbours node so that shark can search for the fish in its vicinity. Once the fish is located it will swim toward the closest fish while the fish tries to evade the shark.
Topics:
- Shape animation
- Swarm node
- Neighbours node
Soft Body Ignite on Collision

This tutorial teaches you how to assign animation to particles, switch between different animations based on distance from an object and collide soft body with scene geometry. It also shows how to generate fire and smoke at the collision locations and how to apply collision objects and sources directly from the NodeWorks.
Topics:
- Shape animation
- Soft body dynamics
- PhysX collisions
- Ignite on contact
- FumeFX simulation
Voxelize Fire and Smoke

This FumeFX 6 tutorial teaches you how to use NodeWorks to access each individual fluid simulation voxel, read its content and make it affect particle properties like color, size and shading.
Disintegrate and Incinerate Objects

This FumeFX 6 tutorial teaches you how to create advanced object disintegration special effect by using only FumeFX and 3ds max. All aspects of disintegration are completely under artist`s control. Propagation rate is controlled by a texture map and more importantly, it`s independent from number of faces and number of simulation steps. We will show you how easy it is to use particle color for the shader Base Color by using Arnold User Data. FumeFX sources and obstacles will be applied directly from the NodeWorks and we`ll use texture color for the smoke color.
Simulating Soft Bodies with Plasticity
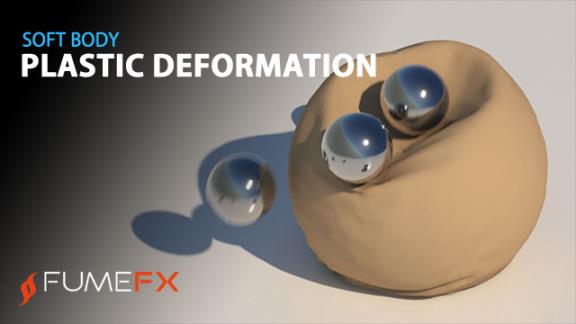
This FumeFX for 3ds max tutorial explains all aspects of cloth and soft body simulation concepts and it will teach you how to create soft body simulation with permanent deformations. We will explain all types of constraints used in simulation and what is their purpose. PhysX will be used to handle all the collisions.
Generate and Control Spline Shapes
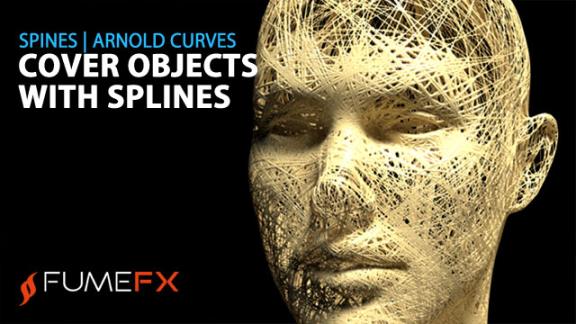
In this FumeFX for 3ds max tutorial particles are driven along the object surface by using the Follow Surface node. Data from the Follow Surface node is used to evaluate the surface vertex color intensity which we`ll use to vary the spline radius. Cached result will be rendered with the Arnold renderer`s curve primitive that allows direct spline rendering without the need to perform the meshing step.
Chocolate With PhysX Joints
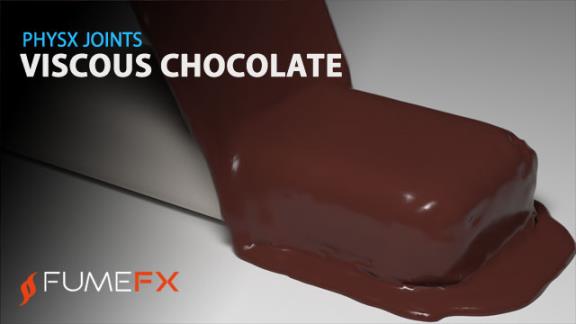
This is a nice trick how to create viscous chocolate simulation without using FLIP of SPH solver. It utilizes Neighbours node to dynamically create PhysX distance joints which keep particles together.
Essentials: Rendering with Redshift Render

As of FumeFX 5.0.6 and Redshift 3.0.17 it became possible to render FumeFX fluid simulations directly by using a powerful 3ds max GPU renderer - Redshift by using only the RS Volume material. This eliminated the tedious task of exporting FumeFX simulations to .vdb and re-importing them back into the RS Volume Grid. This FumeFX Essentials tutorial will guide you through all the necessary steps needed to render FumeFX with the Redshift renderer. This direct support allows artists to render their FumeFX fluid simulations on the GPU easier and faster than ever before.
Fire and Smoke Portal
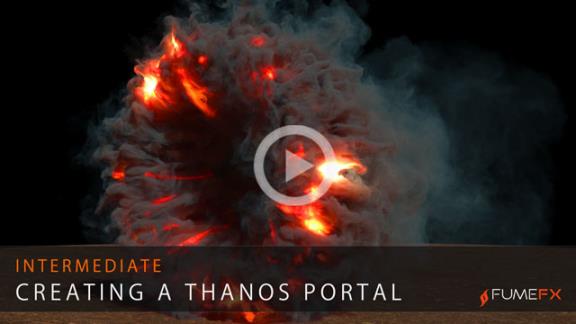
In this tutorial we`re going to show you how to create a portal effect that was inspired by the Avengers Infinity War movie portal that appears when Thanos arrives to Wakanda. The portal in that shot displays dark tendrils with small lightings that illuminate it. Instead of the bluish glow we went with the fiery look and simulation that has benefitted from more detail.
We`re going to use FumeFX Effectors to control the smoke tendrils around the torus and for final rendering we will use the Arnold renderer. Scanline renderer scene is also provided.
You can download files from: https://bit.ly/2JBeLc2
Billowing Smoke/Fire
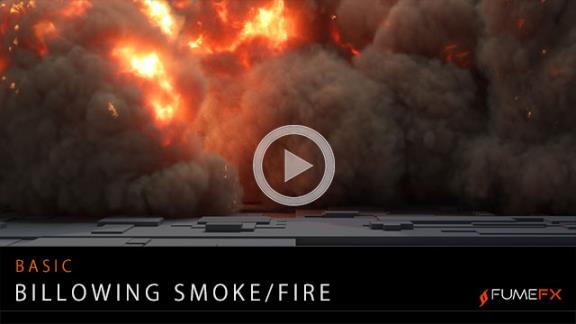
This basic tutorial shows you how to setup a realistic billowing smoke that can be used for various effects ranging from pyroclastic clouds to avalanches.
We`ll show you a great new FumeFX 5.0.4 addition - the Parameter Check option that allows you to quickly spot which parameters were changed.
Conservative advection will make sure that the smoke keeps rolling and does not lose any mass during this 260 frames of animation.
We`ll go through the simple and efficient Arnold Standard Volume shader setup that converts billowing smoke into a raging wall of fire that rushed towards the camera.
Download complete scene from: http://bit.ly/33h2y2K
Carpet Bombing
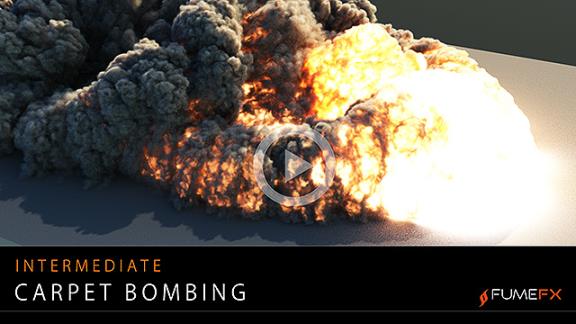
In this tutorial you will learn how to create a carpet bombing explosion by using the FumeFX 5 and Arnold renderer in 3ds max 2019. This sort of explosion occurs with a liquid fuel like napalm. Next time we`ll cover other types of explosions.
This is a relatively simple tutorial that does not require extensive 3ds max or FumeFX skills and will earn you how to use FumeFX expansion, Geometry Source normal velocity as well as Arnold renderer setup to render an explosion.
Download complete scene from: http://bit.ly/3nJUKPK
Dry Ice
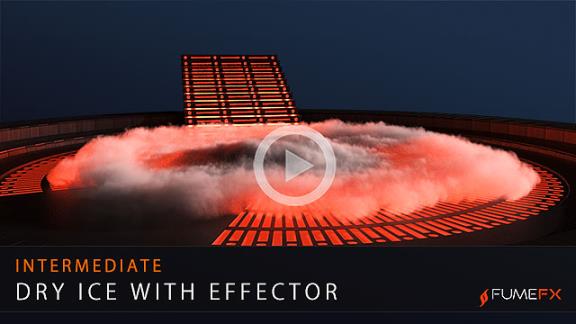
In this tutorial you will learn how to create a dry ice effect in a sci-fi environment by using the FumeFX 5.0.3.
We`re going to use Particle Flow as a source and FumeFX Effector to control the gravity and dry ice layer thickness. For final rendering we will use the Arnold renderer and show few rendering optimization tips.
Download complete scene from: http://bit.ly/2x4R3wj
tyFlow Fluid Force

Explore with us the tyFlow`s PhysX operators and learn how to use the FumeFX velocity field to carry maple leaves across the desert floor.
Download complete scene from:http://bit.ly/2ZZ20vG