Tutorial 14: Particle Flow (3ds max 2013 ext. and up)
In this tutorial you will learn how to pick Particle Flow events and connect AFC controllers with Particle Float scripted values. We will color particles based on their velocity magnitude.
In 3ds Max, select File->Open, and from your /Scenes/FumeFX/ Tutorials folder, select the file Tut_14_start.max.
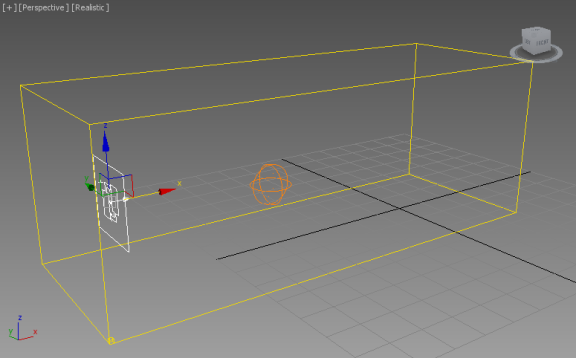
Select FFX Particle Src001 and click on the Pick button and click on the PF Source 001 inside the viewport. The following dialog will show up.

There is a difference between each entry on the list.
If you select the PF Source 001, this will automatically include all events inside the particle system.
If you select the PF Source 001-> PF Source 001 it actually won't have any effect since this event doesn't have any particle.
PF Source 001->Event 001 is the event with our particles, so go ahead select it and click OK.
When you scrub the 3ds max' time slider you can see small circles around each particle. Those circles are drawn by the FumeFX Particle source and they represent the particle radius parameter.
We will turn it up a little bit, so inside the FFX Particle Src0001 set the Radius to 2.0.
Open the Particle Flow user interface.
Select the Data Operator 001 and click on the Edit Data Flow button.
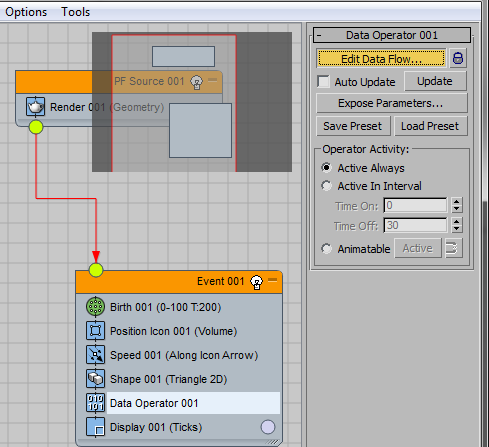
As you can see inside the Data Operator 001 Data Flow window, we have a Speed Magnitude that is output to Script Float. This way we will be access this value from within the FumeFX Particle Source.
Go back to the FFX Particle Src001 user interface.
Change the Color Type to Set voxel value.
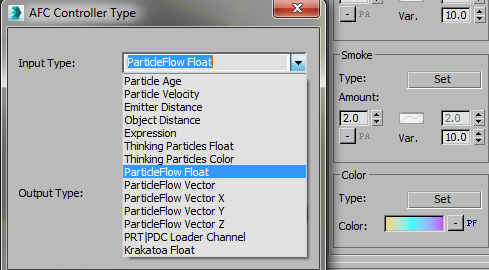
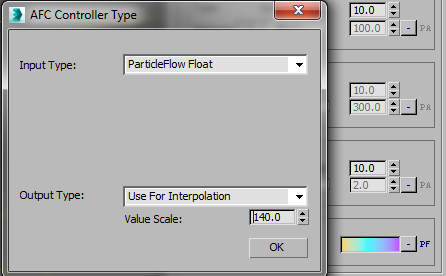
Click on the Gradient Controller [PA] and change Input Type to ParticleFlow Float.
Set the color gradient to something colorful as shown on the image below.
Select FumeFX001 and open the floater UI.
Go to the obj/src tab and Pick the FFX Particle Src001.
Open the sim tab and scroll down to the Color rollout.
Select the Simulate Color checkbox.
Since we will be creating the color inside the FumeFX grid we want to be able to render it as well.
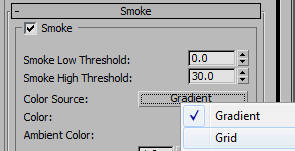
Open the rend tab and under the Smoke rollout change the Color Source to Grid.
If you run the simulation now (and your gradient the same as on the image above yellow->cyan->purple) you will notice that the entire smoke is yellow.
This means that particle velocity magnitude is very low (close to zero) and that it falls on the leftmost part of the gradient's X axis. We will have to adjust this.
Open the Particle Source user interface and click on the Gradient Controller [PF].
Set the Value Scale parameter to 140.0. This will make the velocity vector magnitude from the Particle Flow 140 times bigger, so its range will vary from around 0 to 1 and it will cover the whole color gradient.
After you run the simulation, the end result should look like on the image below.
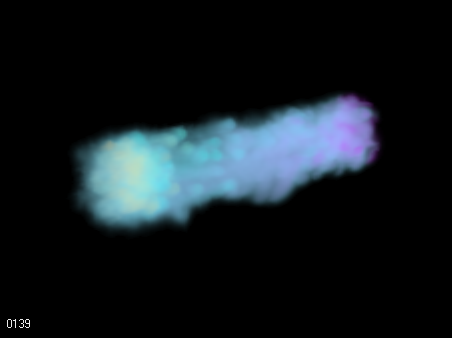
The fastest particles are emitting the purple color and the slowest ones emit yellow color.