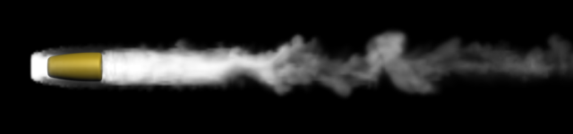
Tutorial 12: Smokin' Bullet with Effector
In this tutorial you will learn how to use Effectors to create a smoke trail behind a bullet.
For this tutorial please load Tut_12_start.max scene in your 3ds max.
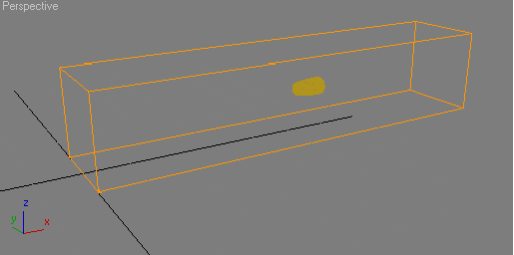
In this scene we have a bullet flying through a FumeFX Grid. We want to create smoke based on velocity; specifically we want to create smoke in areas of high velocity. Later in this tutorial we'll be asked to specify velocity ranges in which we want smoke to be created. So our first task is to find out these values.
Open the FumeFX UI and select theGeneral tab and under the Output rollout and click on the Set button. Add Velocity to the list of Exporting Channels.
Run a simulation and stop it after 20 frames.
Select the FumeFX grid and open 3ds max's Modify panel. Turn on Enable Display and turn on Velocities. You can switch to front viewport to get a better view.
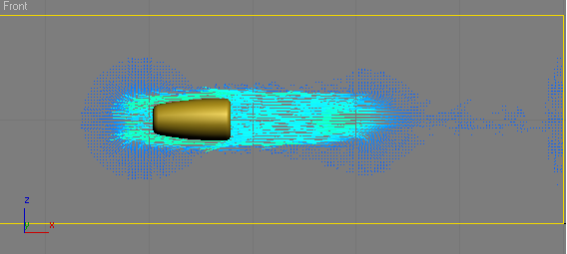
As you move the frame slider, you can see velocities change in the grid, driven by the motion of the bullet.
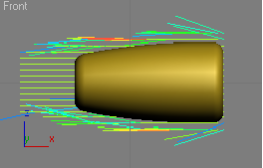
Now adjust Velocities Min and Max values to include only high velocities. Make sure to include velocities in the area right in front of the bullet. Good values for Min/Max are 2.5/3.0.
Now that we know the velocity range we are interested in, we can proceed to setting the values in our effector.
Go to the Helpers section of the Create Command Panel and choose FumeFX.
Next, select an Effector from the list and drag it out into any of the viewports.
Now, we need to connect the effector to the FumeFX grid. Open the FumeFX UI, switch to the obj/src tab, and pick FFX Effector01, adding it to the list.
We want this Effector to apply throughout the grid, so change it's Shape to Free.
Inside Effector parameters, type in a Channel name you will use to bind the Effector to FumeFX. In this case, we'll name it ???smokeEff". Bind this effector to the Smoke Master Effector, so will be operating on the smoke channel - we'll be adding smoke to the simulation.
Set Input type to Velocity and set Range Min and Max to 2.5 and 3.0 respectively. Now we've specified where we want smoke to be created.
Next set Output type to Replace and Scalar to 10.0.
Here are a few tips on input type ranges. If the Output Value AFC is disabled, voxels with velocities below Range Min will have their smoke density set to 0.0 (which will effectivly erase smoke from them). Voxels with velocities above Range Max will have their smoke density set to 10.0, and voxels with velocities falling between range min and range max will have their smoke density lineary interpolated between 0 and 10.
That's not what we want; we want smoke to be created only in areas which don't contain smoke (in other words, empty voxels) and we want the rest of the grid unchanged.
Enable Smoke in the Test group and set Min/Max to 0.0/0.001. This condition is tested for every voxel and the Effector is applied only if all test conditions are met.
Optionally, we can change the Output Value AFC; there is no need for the output to be lineary interpolated between range min and range max. Open Output Value AFC and try to match it to the image below, or load Tut_12_Effector_Output_Value.afc .
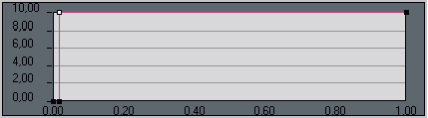
Observe that the AFC achieves maximum value in the entire range, except near the left end. That's because the value AFC achieves in 0 is used for voxels with velocity below range min (clearly we don't want smoke to be created in such voxels).
Next switch to sim tab, scroll down to the Smoke rollout, click on Master Effector and select smokeEff from the '...' button menu.
Before starting simulation, you can remove velocity from the list of exporting channels.
Now run simulation on the entire range; it should take about 10 minutes.