Render Warps
FumeFX comes with unique feature that allows you to apply Space Warps, such as FFD, Twist, Wave, Bend, Taper and others to the cache. In this tutorial we will go through all Render Warps parameters (FumeFX "rend" tab) and see what they do.
For this tutorial please load Tut_08.max scene in your 3ds max.
Adjust Default Output Path and click on Start Default Simulation, to simulate first 50 frames.
The result is a nice smoke stack that is colored by the Geometry Source Color Channel Noise Map.
Imagine the following situation - Your smoke stack looks nice and you`re happy about it, until your VFX supervisor comes in and says that he`d really need a smoke stack leaning to the right side of the screen and he needs it "on the desk" in 10 seconds. Until now you were able to do it by using a weak Wind effect, but you`d probably have hard time meeting the deadline as you need another night to run the high detailed simulation
For the purpose of this tutorial, we are going to add exaggerated effect, but generally, only small WSM tweaks of the cache will look natural.
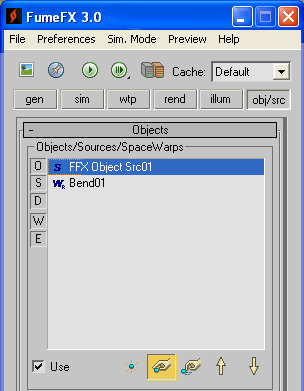
Go to obj/src tab and click on the Pick Object Button. Press keyboard shortcut "h" to bring Pick Object dialog and select Bend01. Bend01 Space Warp will be added to the list.
Open the FumeFX Preview Window and scrub the 3ds max`s Time Slider.
You will notice that the smoke is now bent by the Bend modifier and despite its WSM deformations it still looks pretty smooth.
In FumeFX UI, select "rend" tab and notice that under Rendering Parameters rollout there is a group of options to control Render Warps.
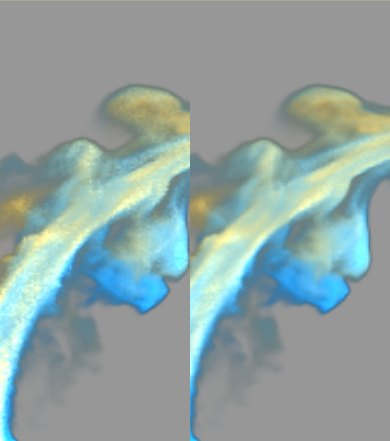
Applied deformations can cause various artifacts, but with Supersample Min/Max parameters you can smooth out the final result. Higher deformation will require more supersamples to avoid rendering artifacts.
On the left image Min and Max are set to 1 and 2 respectively, while on the right image values are increased to Min=10 and Max=20.
Volume distortion has another artifact that is not so visible from the example above.
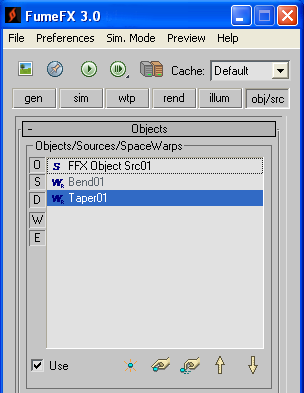
Inside FumeFX UI, click on the "obj/src" tab, select Bend01 modifier and uncheck the "Use" button. Click on the Pick Object Button. Press keyboard shortcut "h" to bring Pick Object dialog and select Taper01 to add Taper01 Space Warp to the list.
At first sight, the smoke stack looks good with a widened top portion from Taper01. However, if you look closely at the top of the smoke stack, you can notice that smoke is more transparent and colors are not so strong.
This happened because the top portion of the smoke was expanded significantly and everything inside the grid is actually "diluted". You will get the opposite effect if change the Taper01 modifier`s Amount to -0.7, which will cause contraction of the topmost area of the smoke.
To preserve the look of the original smoke, FumeFX Render Warps have an "Auto Scale Density" parameter that will analyze deformations and add a correction factor to the equations.
Enable the "Auto Scale Density" parameter and notice that the smoke stack will retain its opacity and color from the original, non-deformed grid.